


How Much Does It Cost to Repair a Main Water Line? Complete 2024 Guide
If you’ve just discovered a main water line leak, you’re likely concerned about both the urgency and the cost. Main...
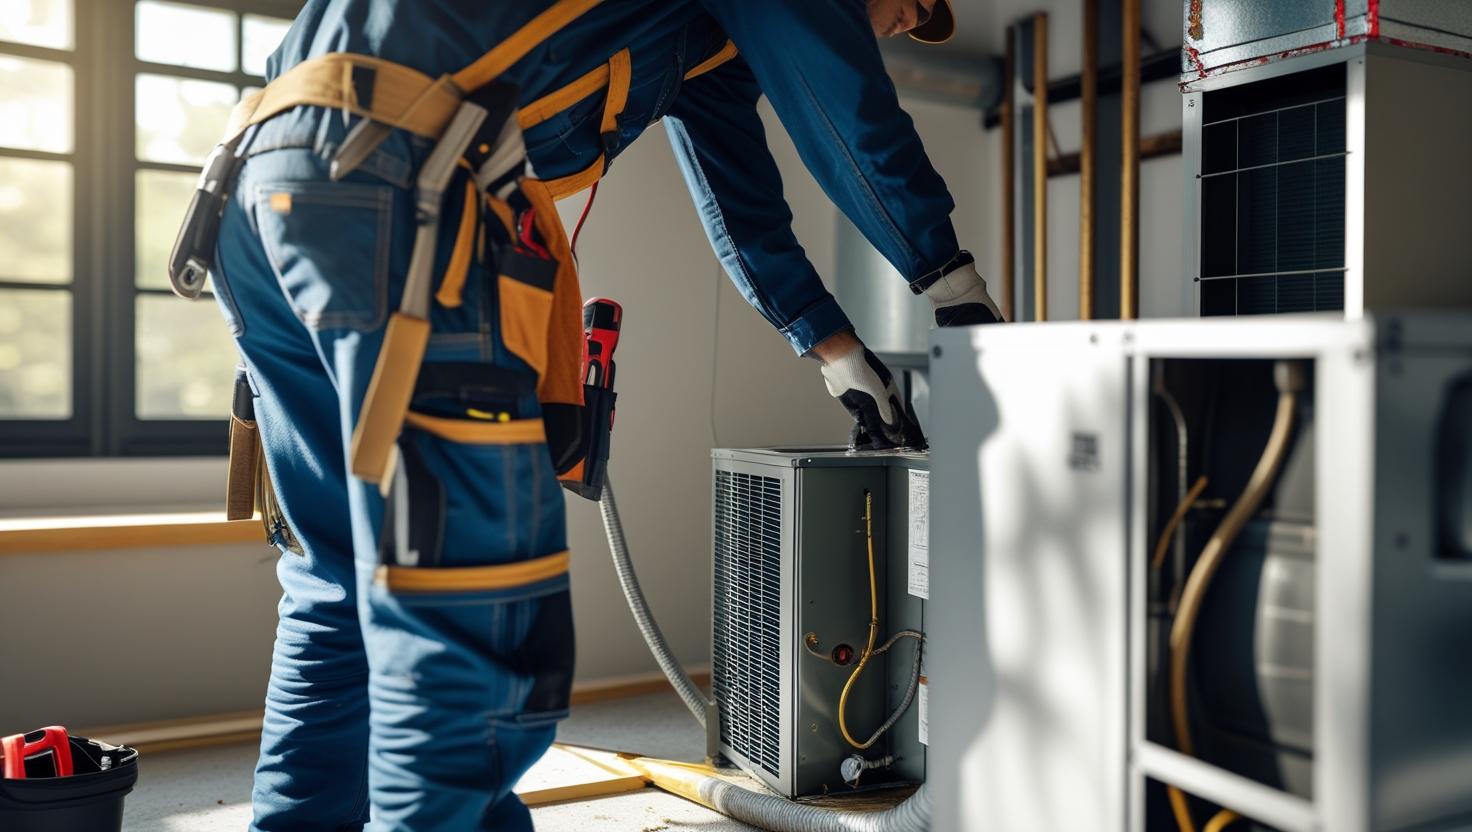
How Much Do HVAC Repairs Cost? [2025 Data]
When your heating and cooling system starts misbehaving, your first thought usually is, “How much will HVAC repairs cost?” HVAC...

HVAC Near Me: Your Guide to Staying Cozy and Cool
When it comes to staying comfortable in your home, finding reliable and affordable HVAC services is a must. Whether you’re...

Gutters Replacement Cost 2025: What Homeowners Need to Know
Introduction Are your gutters sagging, leaking, or just not cutting it anymore? Replacing your gutters isn’t just about keeping your...